
Per utilizzare Nucleus One, è necessario disporre di un account Roon con una versione di prova o un abbonamento valido. Prima di tutto, familiarizzate con i passaggi seguenti, quindi create il vostro account facendo clic sul pulsante "Crea account" alla fine di questa guida rapida.
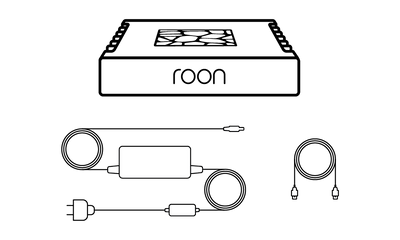
In the box, you'll find everything you need to get going with Nucleus One and Roon. Please take a moment to identify what's included:
● Nucleus One
● Power supply
● AC power cord
● Ethernet cable
Prima di iniziare a usare Roon, è importante collegare tutte le apparecchiature. Nucleus One richiede una connessione di rete cablata per trasmettere la musica ai prodotti audio, comunicare con le app Roon sui dispositivi e recuperare informazioni e contenuti in streaming da Internet. È meglio che Nucleus One - e i dispositivi che si intende utilizzare con esso - siano collegati e alimentati prima di iniziare.
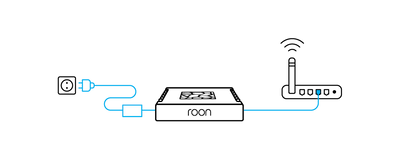
Inserire il cavo Ethernet nel Nucleus One e collegarlo al router o allo switch.
Collegare quindi il cavo di alimentazione CA all'alimentatore. Collegare l'alimentatore a Nucleus One, collegarlo all'alimentazione CA e accenderlo con l'interruttore di alimentazione sul pannello posteriore del prodotto.
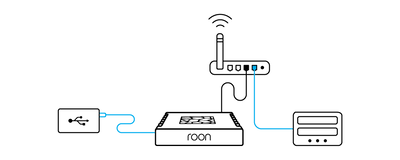
If you have music on a USB hard drive, connect it to one of the USB ports on the Nucleus One.
If you store music files on a NAS (network attached storage) device, make sure it's connected to your network and powered up.
If you prefer to pre-install a hard drive in your Nucleus One, please follow the steps outlined in this guide.

Roon works with USB, HDMI, and networked audio devices. Make sure all your audio products are connected and powered up.
If they're networked devices, be sure to use the apps from the manufacturer to configure and add them on your home network.
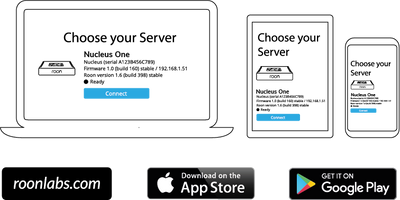
You use apps on your phone, tablet, and computer to set up and control Nucleus One. For Mac and Windows PCs, download the Roon app from our website. For iPhones, iPads, and Android phones and tablets, download the Roon Remote app from the App Store or Google Play.
Once all your devices – Nucleus One, hard drives, NAS, and audio equipment – are connected to your network and powered up, launch Roon or Roon Remote to start using Nucleus One.
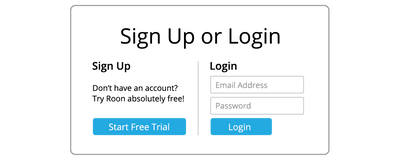
Utilizzando l'app Roon o Roon Remote, collegatevi al Nucleus One e accedete utilizzando l'indirizzo e-mail e la password dell'account Roon creato al punto 1.
The first time you use your Nucleus One, Roon will take you through several steps to get your system configured. This process usually takes just a few minutes.
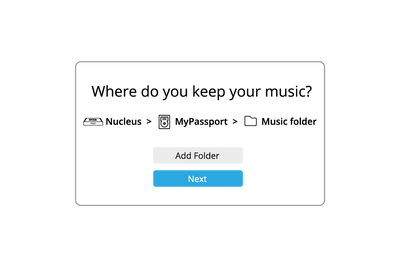
In order to build your personalized music library, Roon needs to locate your music files. These can be on internal storage, external USB hard drives, or stored on a NAS.
You can add as many folders of music files as you like using the app. Roon will never modify your files in any way.

Roon can connect to several streaming services – TIDAL, Qobuz, and KKBOX – to let you add cloud-based music to your library. If you have a streaming account already, add your login details here.
If not, starting a trial with one of the services that works with Roon is a great idea. Access to millions of high-quality streaming titles unlocks many of Roon's best features and helps you discover more music you'll love.
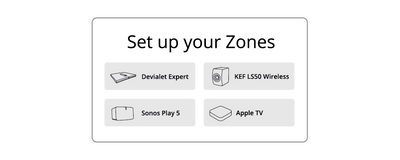
Roon automatically finds the audio devices you connected in Step 3. Choose all the devices you plan to use for listening.
Don't worry if you're uncertain about some of these settings. You can always change them later.